


Bake of the Week: Croissant Artisan Bread Loaf
Liv In The Kitchen's Bake of the Week!

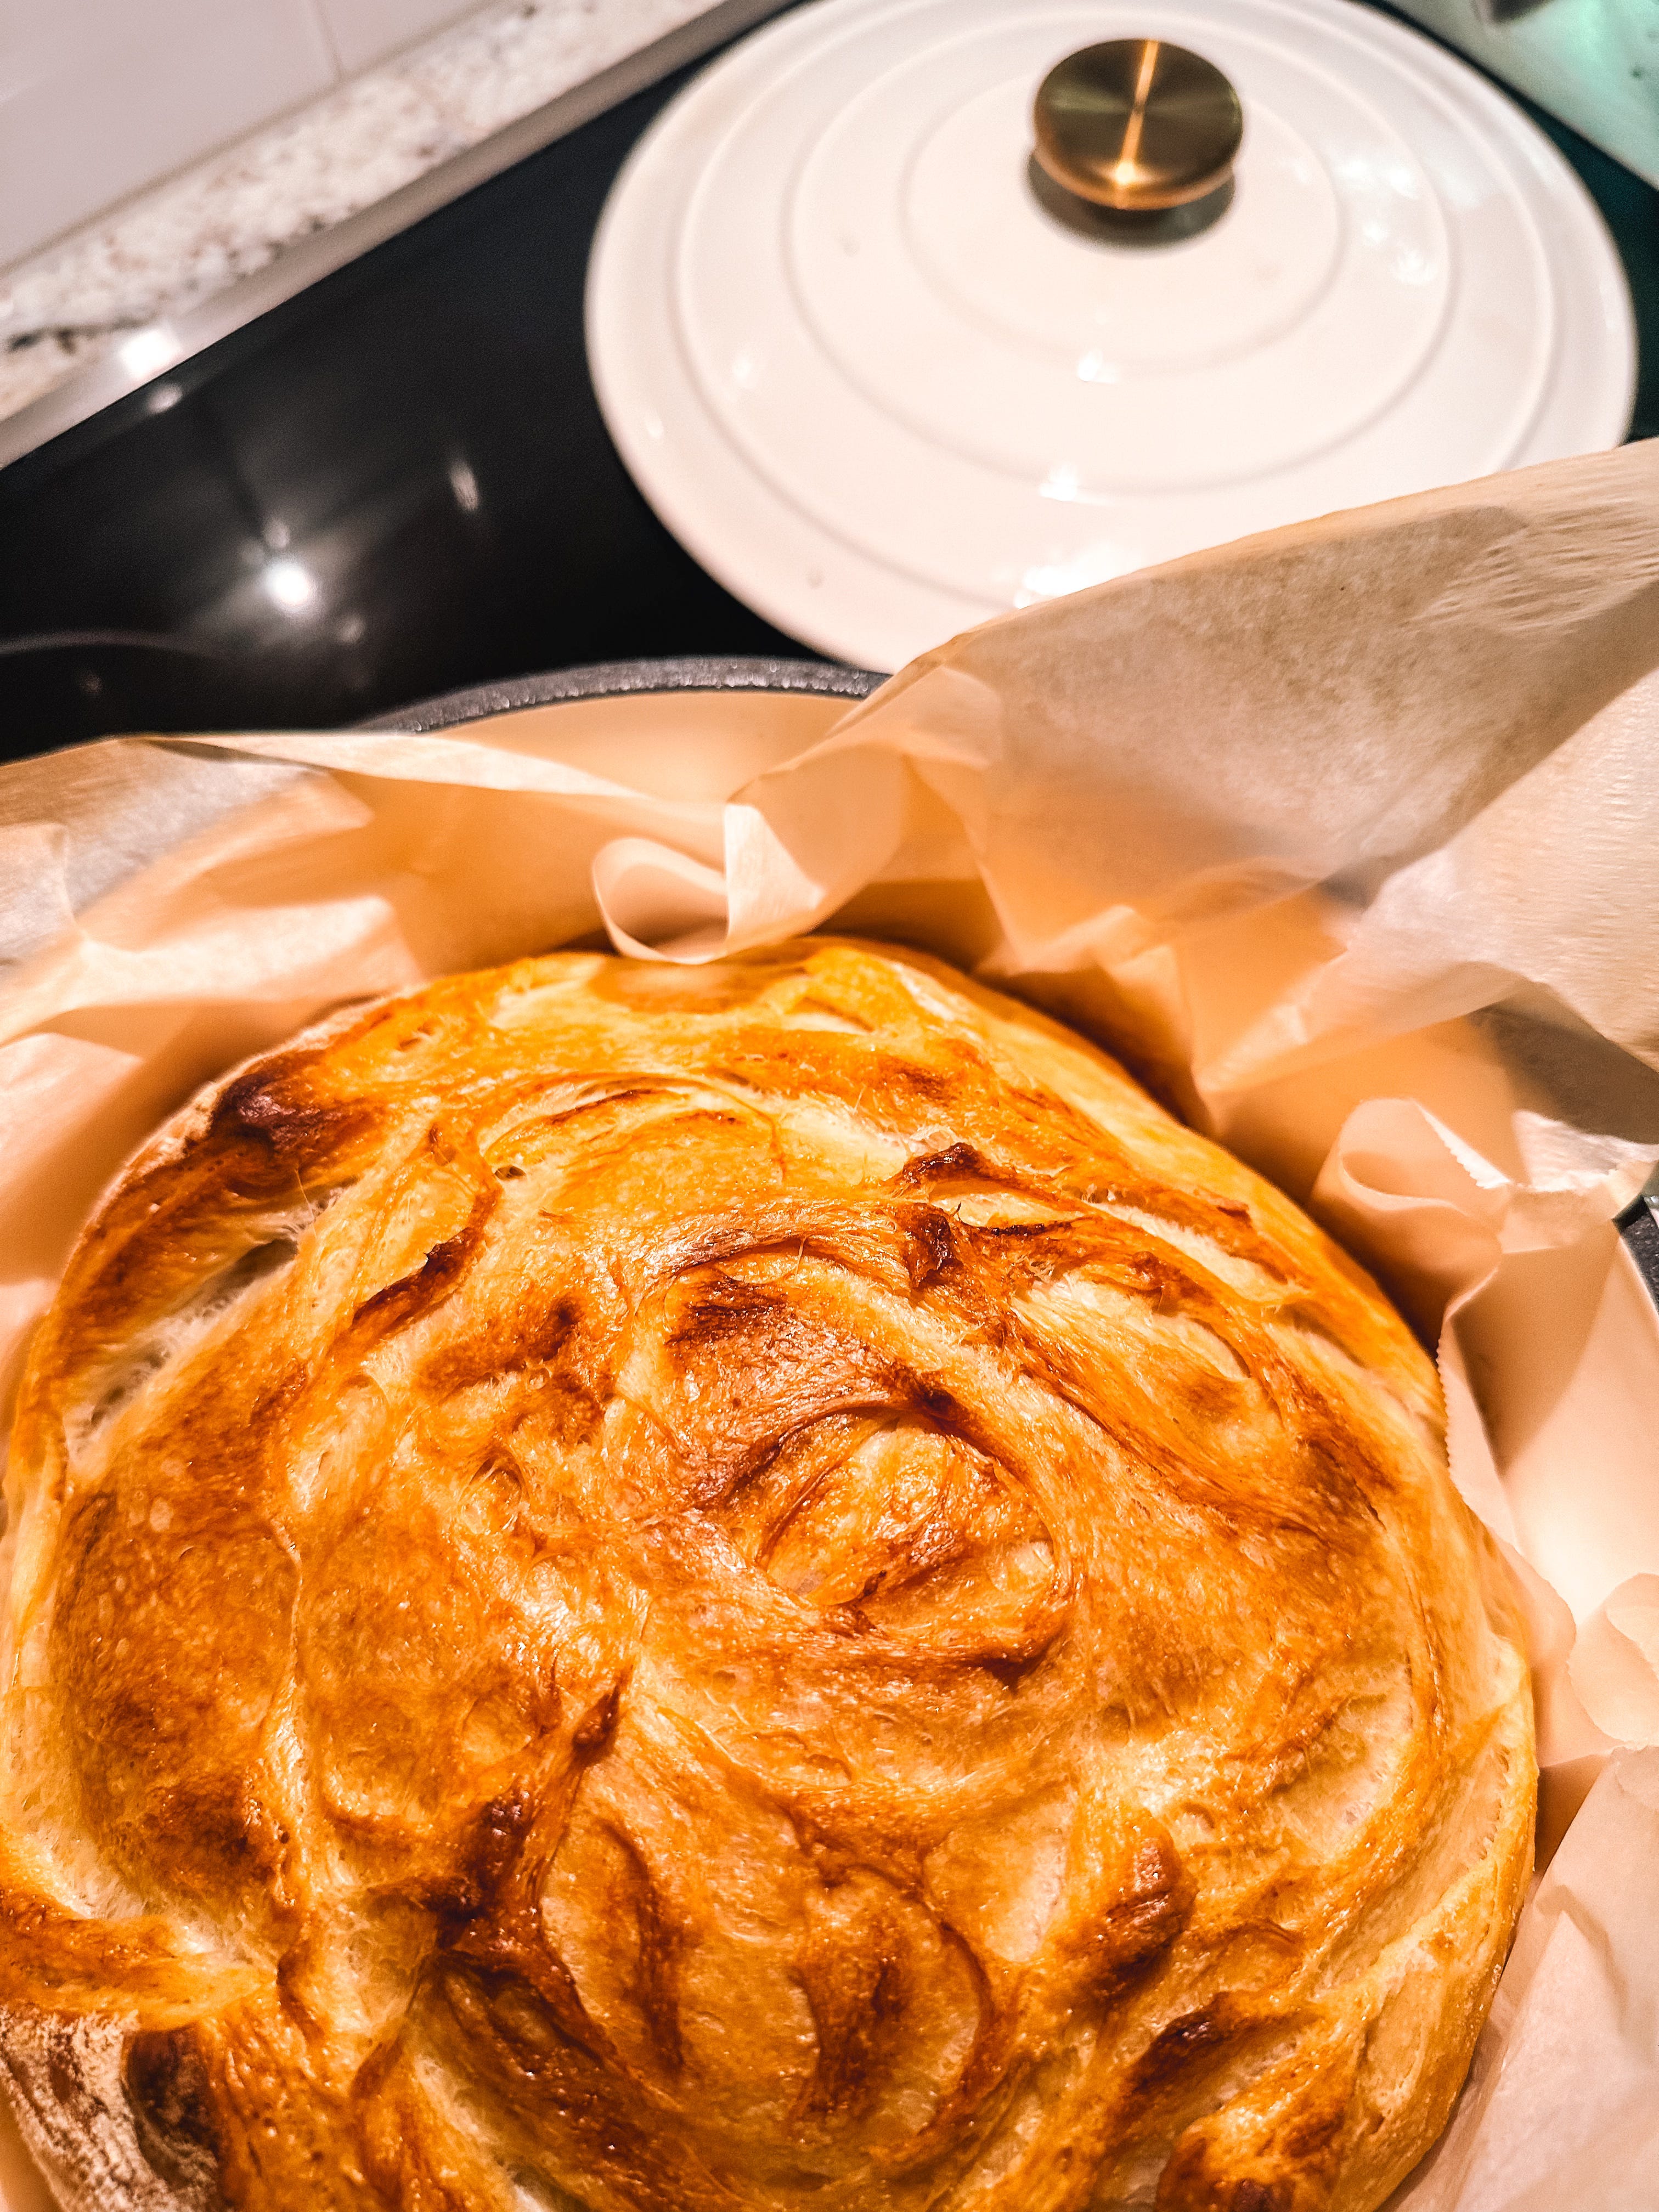
The viral croissant artisan bread loaf has been taking over my social media lately, and after seeing so many stunning versions, I couldn’t resist giving it a try. I absolutely LOVE the buttery, flaky layers of croissants, but I’m not exactly the most patient person on earth, so the long sourdough process just isn’t for me. I decided to skip the sourdough route and use my artisan bread recipe instead — and OMG!!!!!! Let me tell you, it turned out to be absolutely amazing! The moment you slice into it and reveal the dozens of flaky layers is pure magic, making it the perfect show-stopping recipe for your next baking project.
I’ve always been a fan of artisan bread. It has the best chewy, rustic texture and depth of flavor. While sourdough is delicious, the process takes days and a ton of trial and error. Plus, after experimenting with artisan bread, I realized that it tastes almost identical to sourdough, just without that subtle tanginess. The simplicity of the artisan method paired with the buttery, flaky layers of a croissant seemed like the perfect solution to my craving for something both indulgent and easy to make.
I wanted to see if I could achieve the same visual wow factor as the sourdough version, but in a fraction of the time. The result was a delicious loaf that looks as impressive as it tastes, with the golden layers and soft, chewy interior I was hoping for.
Let’s make it!
Ingredients:
3 cups white bread flour
1 cup all purpose flour
1 3/4 cups of warm water
1 ½ teaspoons instant yeast
1 teaspoon granulated sugar
1 Tablespoon extra virgin olive oil
2 teaspoons sea salt
1 stick cold butter (shredded)
Directions:
Step 1
In a large mixing bowl, whisk together the warm water, instant yeast, sugar, extra virgin olive oil, and fine sea salt until well combined. Add the bread flour to the bowl and mix with a spoon until no dry flour remains. Cover the bowl with a cloth and let the dough rest at room temperature for 30 minutes.
Step 2
After 30 minutes, perform a stretch and fold to develop gluten for better structure. Wet your hand to prevent sticking, then lift a section of dough from the 12 o’clock position, stretch it upward slightly, and fold it over to the 6 o’clock position. Repeat this process on all sides until the dough tightens and forms a rough ball. Cover the bowl and let the dough rise for another 30 minutes.
While the dough is resting, cut a stick of butter in half and use a cheese grater to grate one half. When the 30-minute rest is complete, sprinkle the grated butter evenly over the dough before performing another stretch and fold.
Step 3
Let the dough rest for another 30 minutes. Meanwhile, grate the remaining half of the butter. After the rest period, sprinkle the grated butter over the dough and perform another stretch and fold. Repeat this process one final time, allowing a 30-minute rest between each set of stretch and folds.
Step 4
After the final stretch and fold, cover the bowl and let the dough rise undisturbed at room temperature for 3 hours.
Step 5
Flip the dough onto a piece of parchment paper dusted with flour to work into a ball. The dough ball should be firm to the touch but have a spring back. The smooth side should be on top, dust lightly with flour, and rotate it in a circular motion with cupped hands until it tightens into a smooth, slightly taut ball for better oven spring.
Step 6
Place the shaped dough on a piece of nonstick parchment paper that has about 3 -4 inches extra on at least two sides, which serves as handles for transferring the dough.
Step 7
Preheat oven to 450 degrees and place your covered dutch oven into the oven. Cover the dough with the mixing bowl and let it proof for 30 minutes while the pot continues preheating.
Step 8
After proofing, remove the bowl and score an “X” in the dough with a sharp serrated knife to guide its controlled expansion during baking. This is where you can get fancy with the scoring patterns!!!
Step 9
Reduce the oven heat to 435 degrees. Using heavy-duty oven gloves, carefully transfer the dough (using the parchment handles) into the preheated Dutch oven or cast iron pot. Place 3- 4 ice cubes between the sides of the parchment paper and dutch oven to trap steam. Quickly place the lid and bake for 35 minutes.
Step10
After baking for 35 minutes, remove the lid and bake for 15 - 20 minutes more. Check for a deep golden-brown color and a hollow sound when tapped; if needed, bake a few minutes longer or leave the lid off briefly to crisp the crust.
Step 11
Once baked, remove the bread from the pot and transfer it to a cooling rack. Allow it to rest for at least 30 minutes before slicing and enjoy!
If you’re like me and don’t have the patience for the sourdough process but still want that perfect loaf with layers, flavor, and a wow factor, the croissant artisan bread loaf is a must-try. It’s simple, delicious, and perfect for impressing friends or just a treat for yourself. Whether you're a bread baking beginner or an experienced baker, this loaf is sure to be a hit.


Happy baking!
xoxo, Olivia!